openlayers官方教程(十一)Vector Tiles——The VectorTile layer
目录
The VectorTile layer
我们已经知道如何载入瓦片图片,并且能够用不同的方法载入渲染矢量地图。但是我们如何能够用传输到浏览器更快的瓦片的同时,能够样式化数据?这就是矢量瓦片的作用,openLayer通过vectorTile层来支持矢量瓦片。
A world map rendered from vector data
同样需要在index.html中定义基础的东西:
<!DOCTYPE html>
<html>
  <head>
    <meta charset="utf-8">
    <title>OpenLayers</title>
    <style>
      html, body, #map-container {
        margin: 0;
        height: 100%;
        width: 100%;
        font-family: sans-serif;
      }
    </style>
  </head>
  <body>
    <div id="map-container"></div>
  </body>
</html>
同样将index.html保存在工作空间根目录下,同样在main.js中添加imports:
import 'ol/ol.css';
import Map from 'ol/Map';
import View from 'ol/View';
import MVT from 'ol/format/MVT';
import VectorTileLayer from 'ol/layer/VectorTile';
import VectorTileSource from 'ol/source/VectorTile';数据源使用需要许可,在这个链接https://openmaptiles.com/hosting/可以得到许可。下面代码将key赋给一个常量,以备后面程序使用:
// See https://openmaptiles.com/hosting/ for terms and access key
const key = '<your-access-key-here>';
创建map跟之前矢量图层一样:
const map = new Map({
  target: 'map-container',
  view: new  View({
    center: [0, 0],
    zoom: 2
  })
});图层现在变了,用VectorTileLayer,同时使用VectorTileSource:
const layer = new VectorTileLayer({
source: new VectorTileSource({
attributions: [
'<a href="http://www.openmaptiles.org/" target="_blank">© OpenMapTiles</a>',
'<a href="http://www.openstreetmap.org/about/" target="_blank">© OpenStreetMap contributors</a>'
],
format: new MVT(),
url: `https://free-{1-3}.tilehosting.com/data/v3/{z}/{x}/{y}.pbf.pict?key=${key}`,
maxZoom: 14
})
});
map.addLayer(layer);我们数据源只提供了0到14的缩放等级,所以需要配置常用的瓦片格网。矢量瓦片通常采用512像素大小的瓦片。
VectorTileSource同样要配置format和url,就像之前的vectorLayer一样,MVT fromat解析mapbox的矢量瓦片。
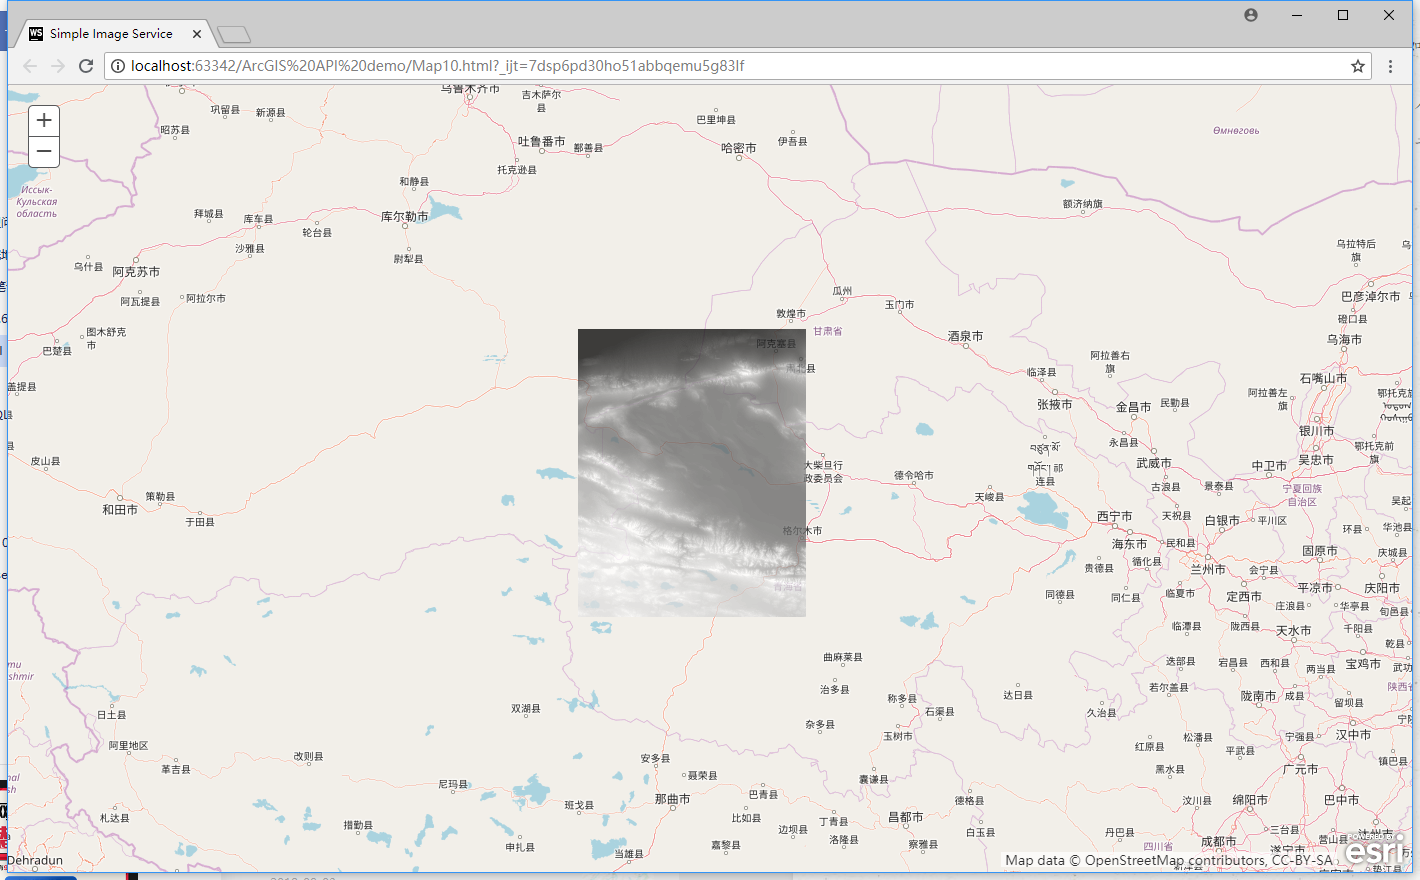
效果如下:

转载自:https://blog.csdn.net/u011435933/article/details/80502946


