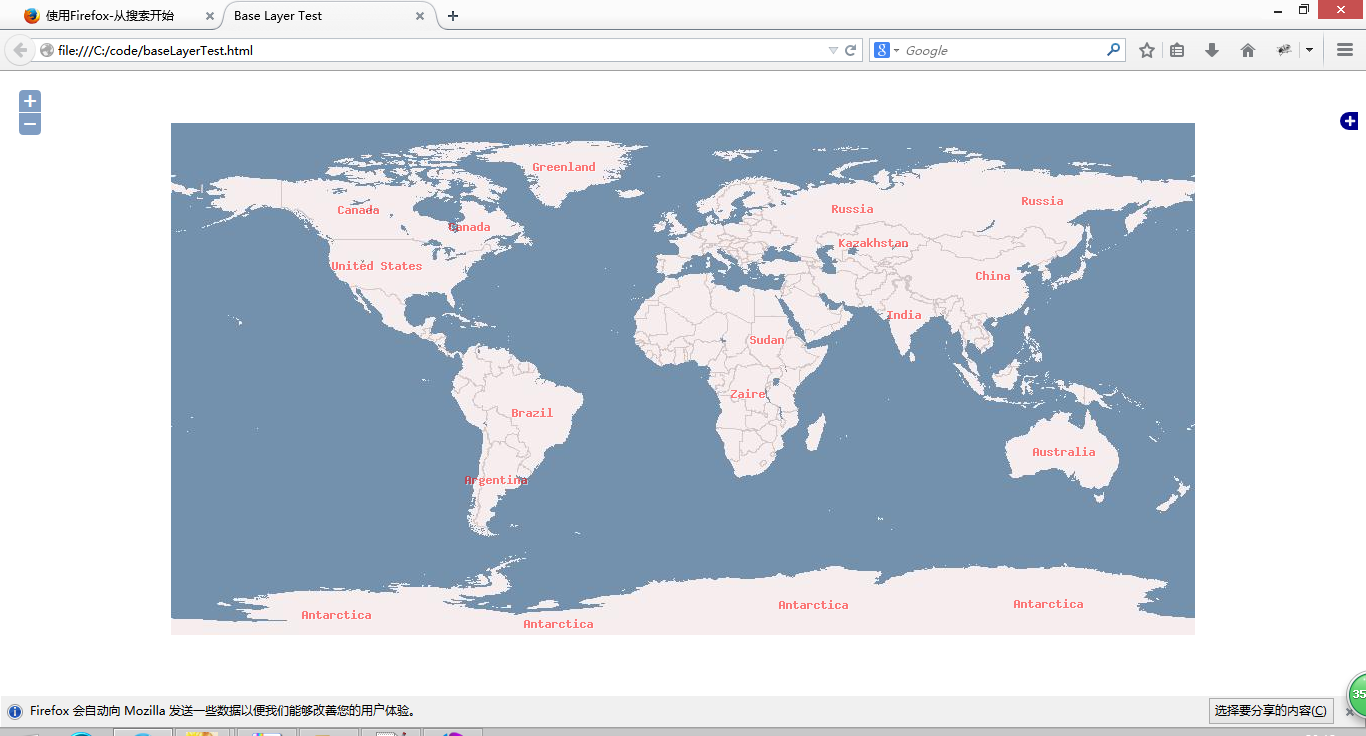
Openlayers 3 使用React 组件化+wepack+ES6实践记录笔记
目录
本博文不作深入研究内容,只用来记录使用React 组件化+wepack+ES6技术操作Openlayers 3 实践中遇到的问题,本博文作为开篇,所以只是简单的demo案例说明。后面还会有其他的一些博文分享我在项目中遇到的问题和总结的经验。
大约一年前我写过一个系列的Openlayers 3的简单的源码结构的分析,代码以及说明在我的github中有,需要的同学出门右转。
Openlayers 3的简单的源码结构的分析 https://github.com/zrysmt/openlayers-3
我在github上看到一些人将openlayers彻底组件化,属性通过props传入进来,例如:
<layer.Tile>
    <source.OSM />
  </layer.Tile>
这样做的好处是高度组件化,看起来很和谐。但是这样无形中增加了学习成本和时间成本,我们要看到ol3的API,然后再考虑到转化为组件化的书写的对应形式,导致了多走一步。
本博文的思想很简单,就是外壳用react组件封装,内部的源码实现使用ol3的API完全没有改变,这样就简单清晰而且避免多走一步。具体例子见下面给出的Demo。
我还将我写的一些组件,比如基础地图,工具栏和绘制栏用React写的组件单独从项目中拿出来,提供给使用和学习者一些方便,下面给出地址,欢迎fork,star,不定期更新,有错误请指出:
1.一些问题总结
**问题1:**npm安装的问题:
Failed at the closure-util@1.18.0 postinstall script 'node ./bin/closure-util.js update'解决方案:
首先 npm i closure-util --save
然后再安装 npm i openlayers --save
问题2:
WARNING in ./~/openlayers/dist/ol.js`
`Critical dependencies:`
`748:1160-1167  This seems to be a pre-built javascript file.  Though  this is possible, it's not recommended. Try to require the original source to get better results.`
修改webpack.config.js
module: {// ...
    noParse: ['/node_modules/prebuiltlib/dist/build.js',]// ...}
2.基本Demo
olbasemap.jsx
import React from 'react';
import ol from 'openlayers';

import 'openlayers/css/ol.css';
import './olbasemap.scss';

class Olbasemap extends React.Component{
    componentDidMount(){
        let map = new ol.Map({
              target: 'map',
              layers: [
                new ol.layer.Tile({
                   source: new ol.source.OSM()
                })
              ],
              view: new ol.View({
                center: ol.proj.fromLonLat([37.41, 8.82]),
                zoom: 4,
              })
          });
    }
    render(){
        return(
            <div id="map"></div>
        )
    }
}

export default Olbasemap;
olbasemap.scss
#map{
    width:100%;
    height:600px;
}
3.调用天地图
/**
 * 基础地图模块
 * @Date 2017-3-8
 */
import React from 'react';
import ol from 'openlayers';

import util from '../../../common/util.jsx';

import 'openlayers/css/ol.css';
import './olbasemap.scss';

class Olbasemap extends React.Component{

    componentDidMount(){
        util.adaptHeight('map',105,300);//高度自适应

        let projection,attribution,coor,view;

        attribution = new ol.Attribution({
            html: '© <a href="http://www.chinaonmap.com/map/index.html">天地图</a>'
        });

        let map = new ol.Map({
            target: 'map',
            layers: [
                new ol.layer.Tile({
                    source: new ol.source.XYZ({
                        attributions: [attribution],
                        url: "http://t2.tianditu.com/DataServer?T=vec_w&x={x}&y={y}&l={z}"
                    })
                }),
                new ol.layer.Tile({
                    source: new ol.source.XYZ({
                        url: "http://t2.tianditu.com/DataServer?T=cva_w&x={x}&y={y}&l={z}"
                    })
                })
            ],
            view: new ol.View({
              // projection: 'EPSG:4326',//WGS84
              center: ol.proj.fromLonLat([104, 30]),
              zoom: 5,
            }),
            controls: ol.control.defaults().extend([
                new ol.control.FullScreen(), //全屏控件
                new ol.control.ScaleLine(), //比例尺
                new ol.control.OverviewMap(), //鹰眼控件
                new ol.control.Rotate(),
                new ol.control.MousePosition(),
                new ol.control.ZoomSlider(),
             ]),
          });
    }
    render(){
        return(
            <div id="map"></div>
        )
    }
}

export default Olbasemap;此时有个问题,假设我们要把map变量传出去,供其他的组件使用,子类和父类之间的传值可以通过props和回调函数完成;现在我们做的组件其实是兄弟关系,怎么将map做成通用呢,经过考虑我们决定使用发布-订阅模式,涉及到各个组件的变量的都在组件内部定义,然后通过发布-订阅模式将一些事件集中管理起来。此外我们还组织将变量放到构造函数中。
于是我们可以这样修改
/**
* 基础地图模块
* @Date 2017-3-8
*/
import React from 'react';
import ol from 'openlayers';
import util from '../../../common/util.jsx';
import Eventful from '../../../common/Eventful.js';
import olConfig from './ol-config';
import 'openlayers/css/ol.css';
import './olbasemap.scss';
class Olbasemap extends React.Component{
constructor(props){
super(props);
let map,view,projection,attribution,coor,mousePositionControl;
attribution = new ol.Attribution({
html: '© <a href="http://www.chinaonmap.com/map/index.html">天地图</a>'
});
mousePositionControl = new ol.control.MousePosition({
coordinateFormat: ol.coordinate.createStringXY(0),
projection: 'EPSG:3857',//可以是4326 精度应该保留几个小数点
// className: 'custom-mouse-position',
// target: document.getElementById('mouse-position'),
undefinedHTML: ' '
});
this.view = view = new ol.View({
// projection: 'EPSG:4326',//WGS84
center: ol.proj.fromLonLat(olConfig.initialView.center||[104, 30]),
zoom: olConfig.initialView.zoom || 5,
});
this.map = map = new ol.Map({
target: 'map',
layers: [
new ol.layer.Tile({
source: new ol.source.XYZ({
attributions: [attribution],
url: "http://t2.tianditu.com/DataServer?T=vec_w&x={x}&y={y}&l={z}"
})
}),
new ol.layer.Tile({
source: new ol.source.XYZ({
url: "http://t2.tianditu.com/DataServer?T=cva_w&x={x}&y={y}&l={z}"
})
})
],
view: view,
controls: ol.control.defaults().extend([
new ol.control.FullScreen(), //全屏控件
new ol.control.ScaleLine(), //比例尺
new ol.control.OverviewMap(), //鹰眼控件
new ol.control.Rotate(),
new ol.control.ZoomSlider(),
mousePositionControl
]),
});
Eventful.subscribe('zoomtoall',()=>this.handleClickOfZoomtoall());//订阅
}
handleClickOfZoomtoall(){
this.view.animate({zoom:olConfig.initialView.zoom || 5,
center:ol.proj.fromLonLat(olConfig.initialView.center||[104, 30])});
}
componentDidMount(){
util.adaptHeight('map',105,300);//高度自适应
if(__DEV__) console.info("componentDidMount");
this.map.setTarget(this.refs.map);
}
componentWillUnmount () {
this.map.setTarget(undefined)
}
render(){
return(
<div id="map" ref="map" >
</div>
)
}
}
export default Olbasemap;在兄弟模块中该调用的模块中调用下面的关键代码即可
Eventful.dispatch('zoomtoall');最后列下来发布-订阅模式的代码Eventful.js
/**
 * 观察者(发布-订阅)模式
 * @Date 2017-3-14
 */
let Eventful = {
    _events: {},
    /**
     * [dispatch 发布]
     * @param  {[String]}    evtName [关键字名]
     * @param  {...[Any]} args    [传递的参数]
     */
    dispatch(evtName, ...args) {
        if (!this._events[evtName]) return;
        this._events[evtName].forEach(
            func => func.apply(Object.create(null), args));
    },
    /**
     * [subscribe 订阅]
     * @param  {[String]}    evtName [关键字名]
     * @param  {Function} callback [回掉函数]
     */
    subscribe(evtName, callback) {
        if (!this._events[evtName]) {
            this._events[evtName] = [];
        }
        this._events[evtName].push(callback);
    },
    /**
     * [unSubscribe 取消订阅]
     * @param  {[String]}    evtName [关键字名]
     */
    unSubscribe(evtName) {
        if (!this._events[evtName]) return;
        delete this._events[evtName];
    }
}
export default Eventful;
参考阅读
– OpenLayers 3 之 加载天地图
转载自:https://blog.csdn.net/future_todo/article/details/61206783


